Some of my favorite projects involve creating something new from materials I already have or can acquire inexpensively. Mo and I visited our local Goodwill last weekend looking for garments that, with a little tweaking, could be turned into something new. Like any shopping trip, you can’t plan on success, but we lucked out found lots of potential garments just waiting to be refashioned into something new.

This skirt that I’ve made started out as a brand new with tags, size 2 dress (I think) or maybe a long shirt. No, I’m not, nor has my closet ever seen a size 2! The dress was really blousy so it looked bigger and the print really caught my eye. The style was a little bizarre which is why I’m sure it still had the tags on. At 50% off of 3.99, into the cart it went. I wasn’t sure what I was going to make at the time, but if I didn’t find inspiration, I figured I could give it to someone. There are a couple of girls at work that I thought might like it – $2 well spent.
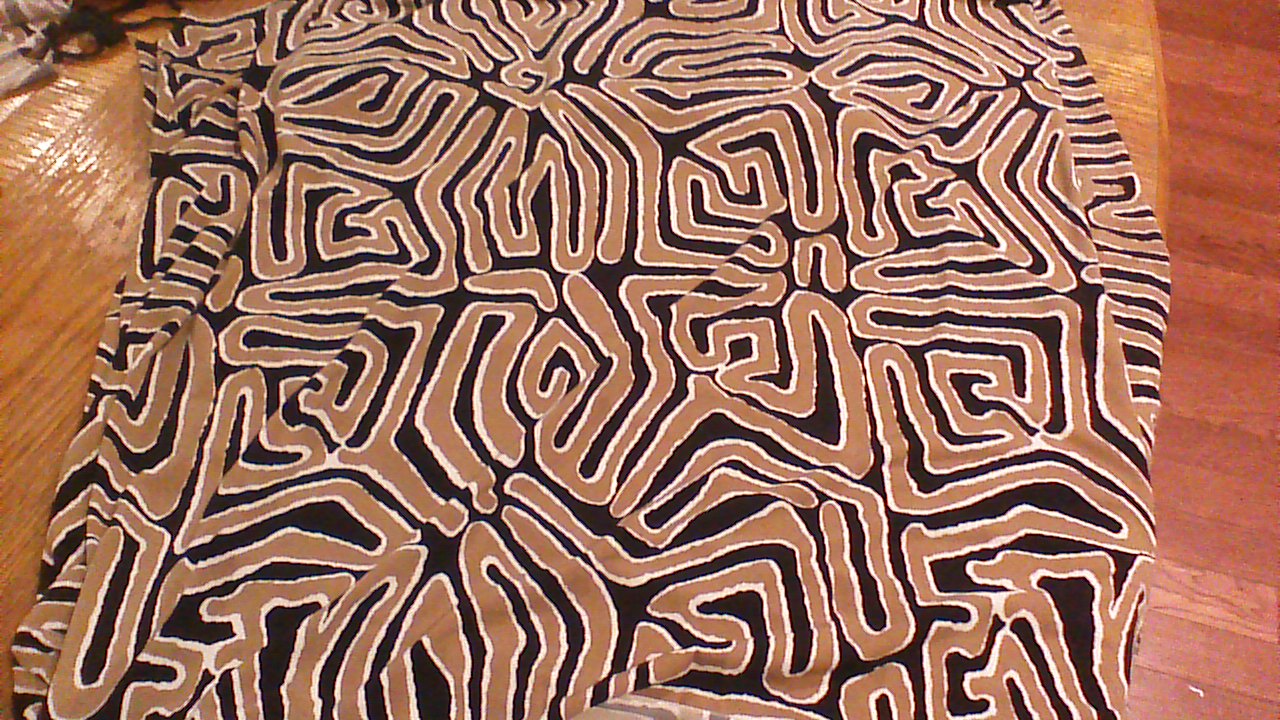
I get a little carried away when inspiration strikes and forgot to take a picture of the garment with tags before I started cutting. In the picture below, I have cut the top off of the dress. I hope you can visualize it all together. The straps are to the right and that band on the left is the bottom.

My first thought was that I could use that bottom band as the waist band and just hem the “top” which would end up being the bottom of the skirt. The waist band fit fine – this material is all stretchy to begin with, so although it’s not easy to sew on, it hangs nice and is easily manipulated to fit/stretch where needed. But, when I tried it on, I realized there was a lot of material and it was just too fluffy. I like straight skirts that hit at the knee or straight with a tiny bit of flare at the knee. This was just puffy all around, which might be flattering on someone else, but not my style.
So, I switched to plan B. I have made many, many skirts by simply sewing a tube of fabric, adding an elastic waist, and hemming the bottom. I make them all fairly slim so they fit over legs/hips, then the elastic cinches in the waist just enough. That was my approach with this.

I cut off the bottom band and removed all the lining as this was tight (the only part of the garment that seemed to be sized correctly). I then cut each end of the tube straight across to clean up any rough, out of shape edges. This fabric is stretchy and wiggly, almost like bathing suit material, but not quite, so a little on the difficult side to cut and sew. I just kept at it, making sure I smoothed out all wrinkles before cutting and used sharp scissors. I then sewed straight up the tube to make it smaller. This took a little tweaking. I wanted it to just fit over my legs/hips – not too tight, but not a lot of extra material either. It took a couple of times pinning and sewing to get this just right, but it’s a straight stitch so the sewing part was easy (except for the stretchy fabric). I used a “stretch” needle on the machine. Normally I use universal for just about everything, but anything stretchy needs a special needle and I still struggle to make the stitches look really neat.

Next, I made a casing by folding the fabric over about 1 inch and stitching in place. I left a small 1 inch opening for threading the elastic through. I was actually able to scrounge the elastic from another garment that we found (strapless maxi dress which we cut the top off of to make a skirt). Once the elastic was in place, I turned up the bottom hem about 1/4 inch and stitched in place.

Since this fabric is stretchy and doesn’t fray, I didn’t do a doubled over hem on either the top or bottom. A store bought skirt like this would have a serged edge to look more finished and I probably could have done a zig-zag stitch first before stitching down, but I found the straight stitching on this slippery fabric was already a match for my patience and decided this was “good enough” for me. The inside will not show when I’m wearing it, so it should be ok.

It’s so much fun to make something that otherwise would not get any use. And, it’s a great way to learn how garments are constructed as well as sharpen sewing skills. When I have a refashion idea that I’m not sure will work, I just tell myself, it wasn’t being used anyways – if I mess it up, nothing is lost and I might learn something in the process.